


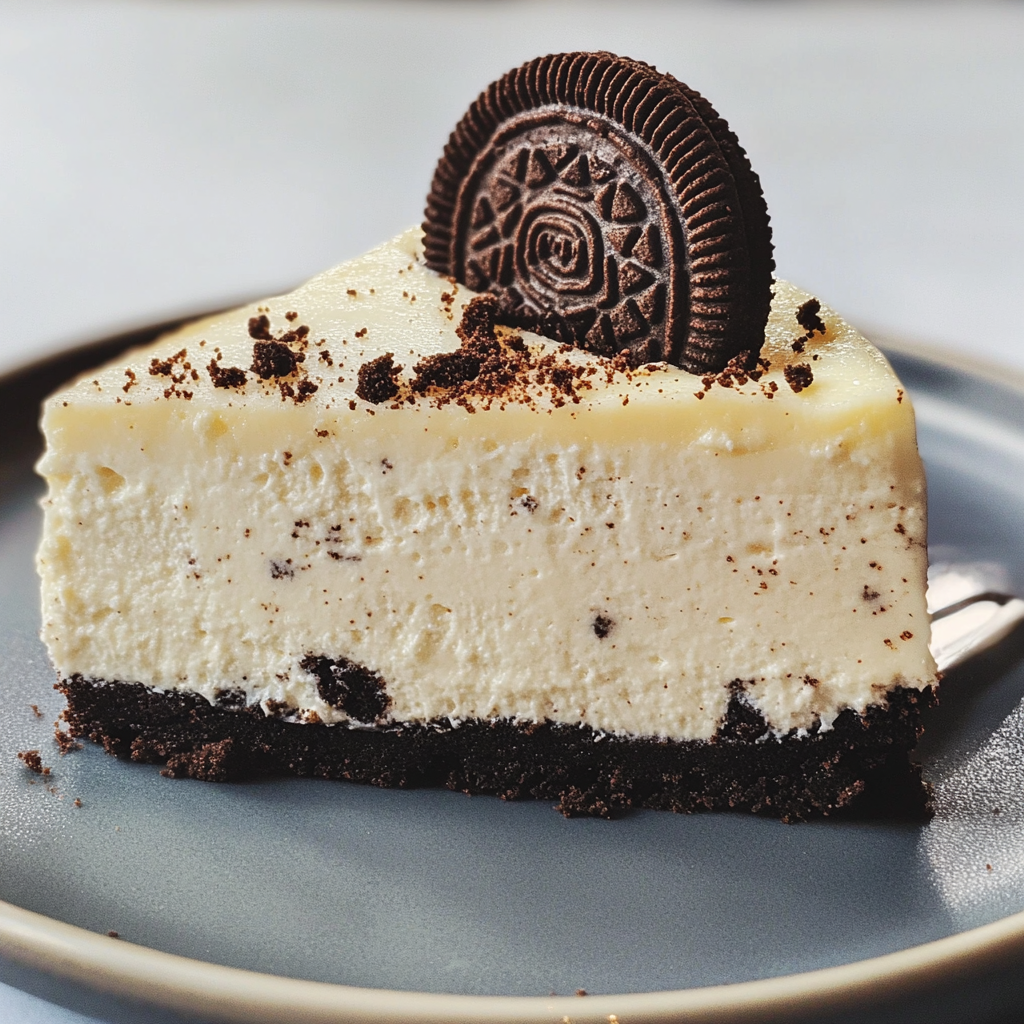
If you’re a fan of Oreo cookies and cheesecake, get ready for your new favorite dessert! This Oreo Cheesecake is rich, creamy, and packed with crunchy chocolate cookies in every bite. With a buttery Oreo crust, velvety smooth cheesecake filling, and a decadent Oreo topping, this dessert is a cookies and cream lover’s dream!
Perfect for birthdays, celebrations, or simply as a sweet treat, this cheesecake is baked to perfection and guaranteed to impress. Plus, it’s easier to make than you think—no complicated techniques, just simple steps for a showstopping dessert!
Why You’ll Love This Recipe
✔️ Oreo Lover’s Dream – Loaded with Oreos in every layer!
✔️ Velvety, Creamy Texture – Smooth and rich with the perfect balance of sweetness.
✔️ No Water Bath Needed – Just simple baking with foolproof results.
✔️ Perfect for Any Occasion – A guaranteed hit at parties, gatherings, or even a midnight snack!
Ingredients (Measured in Grams for Accuracy)
For the Oreo Crust:
- Oreo cookies (crushed, with filling) – 250g (about 25 Oreos)
- Unsalted butter (melted) – 80g (⅓ cup)
For the Cheesecake Filling:
- Cream cheese (softened) – 680g (3 cups)
- Granulated sugar – 150g (¾ cup)
- Sour cream – 120g (½ cup)
- Vanilla extract – 10ml (2 teaspoons)
- Eggs – 3 large
- Oreo cookies (chopped into chunks) – 100g (8-10 Oreos)
For the Topping (Optional but Highly Recommended!):
- Heavy cream – 240ml (1 cup)
- Powdered sugar – 30g (2 tablespoons)
- Oreo crumbs (for garnish) – 50g (4-5 Oreos)
- Whole Oreos (for decoration) – 6-8
Step-by-Step Instructions
1. Prepare the Oreo Crust
1️⃣ Preheat oven to 175°C (350°F).
2️⃣ Crush Oreo cookies into fine crumbs using a food processor or a rolling pin.
3️⃣ Mix the Oreo crumbs with melted butter until the texture resembles wet sand.
4️⃣ Press the mixture firmly into the bottom of a 9-inch (23 cm) springform pan.
5️⃣ Bake for 8-10 minutes, then let it cool.
2. Make the Cheesecake Filling
1️⃣ In a large bowl, beat cream cheese and granulated sugar until smooth and fluffy.
2️⃣ Add sour cream and vanilla extract, mixing well.
3️⃣ Beat in eggs one at a time, just until combined (do not overmix).
4️⃣ Gently fold in chopped Oreo chunks, ensuring they are evenly distributed.
3. Assemble and Bake
1️⃣ Pour the cheesecake batter over the cooled Oreo crust.
2️⃣ Smooth the top with a spatula and gently tap the pan on the counter to remove air bubbles.
3️⃣ Bake at 160°C (325°F) for 50-60 minutes, until the center is slightly jiggly but set.
4️⃣ Turn off the oven and let the cheesecake sit inside with the door slightly open for 1 hour.
5️⃣ Refrigerate for at least 4 hours (or overnight) before adding toppings.
4. Make the Whipped Cream Topping
1️⃣ Beat heavy cream and powdered sugar until soft peaks form.
2️⃣ Spread or pipe the whipped cream over the chilled cheesecake.
3️⃣ Garnish with Oreo crumbs and whole Oreos for an eye-catching finish!
Nutritional Information (Per Slice, Based on 12 Slices)
- Calories: ~420 kcal
- Protein: 7g
- Carbohydrates: 45g
- Fats: 25g
- Sugar: 30g
- Fiber: 1g
Pro Tips for the Best Oreo Cheesecake
🍪 Use Room Temperature Ingredients – Ensures a smooth and lump-free cheesecake batter.
🔥 Bake at a Lower Temperature – Prevents cracks and keeps the cheesecake creamy.
🌀 Fold in Oreos Gently – Avoid overmixing so you get delicious cookie chunks throughout.
🥶 Chill Overnight for the Best Texture – This makes slicing easier and enhances the flavors!
Fun Variations to Try
🍫 Chocolate Oreo Cheesecake – Add melted chocolate into the batter for extra richness.
☕ Mocha Oreo Cheesecake – Stir in espresso powder for a coffee-kissed flavor.
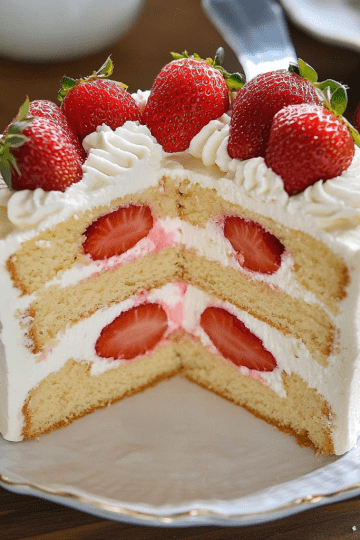
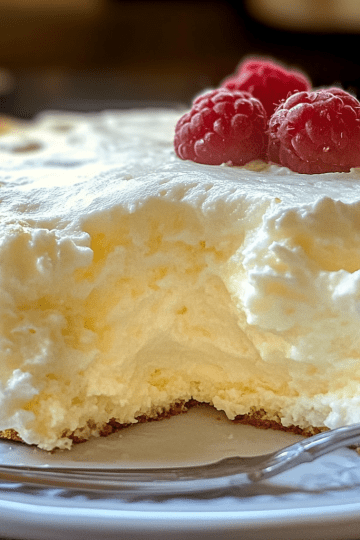
🍓 Berry Oreo Cheesecake – Top with fresh strawberries or raspberries for a fruity contrast.
🎃 Pumpkin Oreo Cheesecake – Add pumpkin purée and cinnamon for a fall-inspired treat.
How to Store & Make Ahead
🫙 Refrigerate – Store in the fridge, covered, for up to 5 days.
❄️ Freeze for Later – Wrap individual slices in plastic wrap and store in an airtight container for up to 2 months.
🔥 Best Served Chilled – Let sit at room temperature for 10 minutes before serving for the best texture.
Leave a Reply